 Kjopelovligforerkort
Road Test Tips Examiners Actually Notice
By Florian Ibarra / / 10 min read
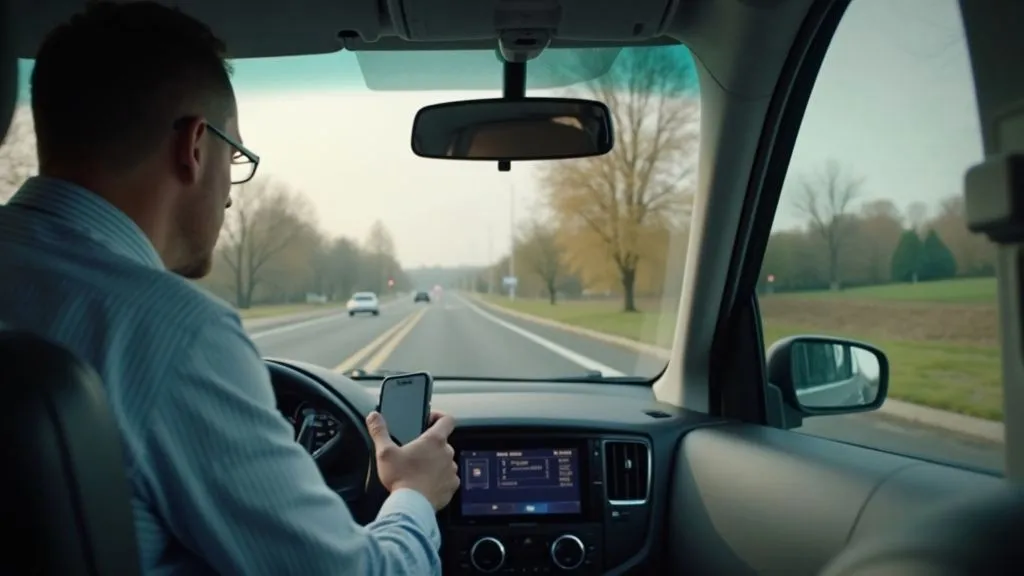
Examiners don’t expect perfection. They expect safe, predictable driving that’s easy to score. The fastest improvements come from understanding what they grade, practicing where they’ll likely take you, and making your safety habits obvious. The following road test tips focus on what actually moves your score.
What examiners really score (and what quietly sinks you)
Most jurisdictions grade five things consistently:
- Vehicle control: Smooth starts and stops, steering that keeps you centered without weaving, controlled reversing, and precise low‑speed maneuvers.
- Observation: Timely mirror checks, proper shoulder checks, scanning intersections left‑center‑right, watching crosswalks, and checking blind spots before every lateral move.
- Compliance: Speed limits, complete stops, signaling in advance, obeying lane markings and signs, yielding correctly, and turning into the correct lane.
- Communication: Clear, timely signals; speed and lane position that communicate intent; eye contact with pedestrians when appropriate.
- Decision‑making: Gap selection on turns and merges, when to go versus when to wait, and maintaining safe following distance.
Actions that usually trigger an automatic failure include:
- Running a red light or stop sign, or rolling a stop into crosswalks.
- Speeding well over the limit or driving so slowly that you impede traffic without cause.
- Failing to yield to pedestrians or oncoming traffic.
- Causing the examiner to intervene (verbal command to brake, grabbing the wheel, or using a dual brake).
- Unsafe lane changes without a shoulder check.
- Near‑collisions or mounting the curb during maneuvers.
- A vehicle that’s not roadworthy (bald tires, brake lights out, cracked windshield in the driver’s view).
You don’t need to be perfect to pass. You do need to avoid these high‑risk errors and make safe habits easy to see.
Road test tips that mirror the scoring sheet
Practice to the rubric you’ll be judged on:
- Build your route vocabulary. Near any testing center, map several short loops that include a school zone, a four‑way stop, an unprotected left, a lane drop/merge, a speed change (35 to 25 mph, or similar), a pedestrian‑heavy crosswalk, and a parallel‑parking spot on a quiet street.
- Rehearse the examiner’s “favorite turns.” Many centers use predictable streets because they include specific features: offset intersections, odd angle lefts, or double‑turn lanes. Drive those at the hour you’ll test to match traffic and sun glare.
- Score yourself. After each practice, note points you’d likely lose: late signal, rolling stop, drifting wide on a right turn. Fix one category at a time until the habit sticks.
A pre‑drive routine that calms nerves and prevents cancellations
A calm start isn’t about positive thinking; it’s about eliminating unknowns.
-
Car eligibility check the day before:
- Lights: brake lights, turn signals, headlights, and hazards all work.
- Tires: adequate tread and correct pressure. Low pressure lengthens stopping distance.
- Windshield and wipers: clean glass, no major cracks in your field of view, blades that clear water.
- Horn, parking brake, defogger/defroster: find and test them.
- Registration and insurance: valid documents physically in the car.
- Plate visibility: no temporary paper taped inside a dark window if your area disallows it.
-
Cockpit drill in the lot (show your process):
- Seat, steering wheel, and mirrors adjusted before moving. Set side mirrors slightly wider than you’re used to; it reduces blind spots.
- Buckle up, have all passengers buckled, doors closed. Confirm parking brake status.
- Start the car, turn on headlights if policy or weather calls for it, and set climate controls to prevent fogging. Identify the windshield wiper and rear defogger so you won’t fumble later.
When the examiner asks you to locate controls (horn, lights, hazards), do it confidently and without looking down for long. That first impression matters more than people think.
Observation that reads clearly on the score sheet
Show, don’t imply, that you’re scanning.
- Stops that look safe: ease to the limit line, stop fully. Count “one‑one‑thousand, two‑one‑thousand” before rolling, then creep forward if needed to see, stop again, and go when clear. This two‑stage stop is expected when visibility is blocked.
- Mirror rhythm: quick mirror sweep every 5–8 seconds on open roads; more often in dense areas. Before braking harder than usual, mirror check first to avoid being rear‑ended.
- Shoulder checks: every lane change, every merge, and before pulling away from the curb. Make the check visible. Tiny eye flicks aren’t scored as a blind‑spot check.
- Intersections: scan left, center, right before entering—then recheck for last‑second pedestrians stepping off the curb.
If you forget a check, don’t fake it after the fact. Make the next one crisp and timely.
Speed, spacing, and the “flow without drift” balance
Examiners watch how you fit into traffic without bending the rules.
- Aim for the middle of legality: within the limit, never more than a couple mph over, and not so under that you back up traffic. If conditions are poor, say why you’re slower (“wet road”)—you don’t need a speech, but a brief note signals judgment.
- Following distance: at least three seconds in good conditions, four or more in rain or at higher speeds. Count using a fixed point the vehicle ahead passes.
- Speed changes: transition smoothly before the sign when slowing (coast early, light brake), and accelerate to the new limit only after you pass the higher‑speed sign.
- Hills: downshift or use engine braking if your car tends to run away downhill; riding the brakes and speeding up on descents looks sloppy.
Intersections examiners love—and how to handle them
- Four‑way stops: first in, first out; ties go to the right. If you and the opposite driver arrive together and both go straight, go together. If the opposite driver turns left across you, you still have priority going straight. Ignore courtesy waves when they contradict right‑of‑way.
- Unprotected lefts: keep wheels straight while waiting, stop before the crosswalk, and take the first safe gap that doesn’t force a hard acceleration. A workable rule: you want at least a 7–8 second gap to cross a single lane of oncoming traffic and complete the turn without rushing. If one oncoming car signals a right turn into your street, still wait for confirmation of their actual turn.
- Right turn on red: full stop, check for “No Turn on Red” signs, roll forward to the limit line for visibility if needed, scan for pedestrians and bikes in the crosswalk and near‑side bike lane, then turn only when your path is fully clear.
Parking and low‑speed maneuvers, made repeatable
Examiners don’t care about your preferred trick; they care about control and safety checks.
-
Parallel parking: set it up the same way every time. Example sequence:
- Pull parallel 2–3 feet from the car ahead with your rear bumpers roughly aligned.
- Reverse slowly while turning the wheel toward the curb until your car is at a 45‑degree angle and your rear wheel is near the curb line.
- Counter‑steer to bring the front in, pause to straighten as you clear the rear bumper ahead.
- Center in the space and finish within the allowed distance from the curb (varies by jurisdiction). Check 360° before reversing, and look over your right shoulder most of the time you’re moving backward. A backup camera can assist, but your head should not stay glued to the screen.
-
Three‑point turn: signal to pull to the right curb and stop, 360° check, signal left, turn fully left across the road, reverse carefully with a shoulder check, then drive forward to finish in the correct lane.
-
Hill parking: wheels toward the curb when downhill, away from the curb when uphill with a curb, and toward the shoulder when uphill without a curb. Always set the parking brake before you take your foot off the pedal.
Lane positioning that looks deliberate
- Turn into the nearest legal lane. If you need another lane, signal and change after you’ve straightened and checked your blind spot.
- Keep a steady lane position. Don’t ride the centerline or the gutter—aim for the visual middle of the lane.
- In multi‑lane right turns, hold your lane; cutting across lanes is a common point loss.
A freeway segment without drama
If your area includes highway driving:
- Ramp entry: signal early, check your mirrors and blind spot, accelerate on the ramp to match traffic speed, and merge into the first safe gap without stopping on the ramp unless traffic is stopped.
- Lane discipline: settle into a lane that matches your speed. Keep right except to pass if that’s the local rule.
- Following distance: open it up to four seconds. Highways magnify small errors.
- Exits: signal well ahead, move right gradually, and reduce speed only on the deceleration lane, not in the main flow.
What to say—and what not to
You’re not graded on conversation, but clear communication helps.
- Missed or unheard instructions: say “Could you please repeat that?” That’s better than guessing.
- If you miss a turn: don’t dive across lanes late. Continue safely; examiners will reroute you.
- Narrating can steady nerves (“Right turn, checking crosswalk, turning into nearest lane”), but keep it brief. If it distracts you, skip it.
- Don’t argue interpretations of right‑of‑way. Drive the law, not other drivers’ opinions.
Day‑of logistics that tighten everything up
Small, controllable details add up.
- Arrive 20–30 minutes early to breathe, use the restroom, and observe the staging area. Watch how other candidates are cued and where examiners begin.
- Eat something light and hydrate modestly. A shaky hand from low blood sugar shows in your steering.
- Bring: permit, appointment confirmation if required, registration, insurance, glasses or contacts, and a spare pair if you use them. If you need medical or testing accommodations, arrange them in advance.
- Set your phone to airplane mode. A notification you glance at in the lot can color the examiner’s impression of your priorities.
Common automatic‑fail triggers—and how to avoid them
- Rolling stops: plan to stop fully, then creep to see. Use the two‑stage stop at blind intersections.
- Pedestrian misses: check both sides of the crosswalk before turning right on red or left on green. Bicycles count as vehicles; yield appropriately in bike lanes.
- Lane changes without a shoulder check: add the check to your signal‑mirror‑move routine every time.
- Wide right turns: slow more before the turn, look where you want to go, and hold a tight arc into the nearest legal lane.
- Speeding into school zones or work zones: scan for temporary signs and flashing beacons. When in doubt, default to caution and explain briefly if asked.
If you don’t pass, convert the sheet into a training plan
A fail isn’t a judgment on your potential; it’s a list of paid coaching notes.
- Ask where you lost the most points. Most examiners won’t coach, but they will reference the categories or maneuvers.
- Deconstruct the biggest issue into drills. For example, “failed to observe” becomes: mirror rhythm on straight segments, shoulder checks before every lateral move, and intersection scans repped at 10 consecutive stop signs.
- Practice at the same time of day as your next test. Lighting and traffic density matter.
- When you rebook, consider the first or second appointment of the morning. Fewer delays, more consistent routes.
Weather, vehicle tech, and other edge cases
- Rain or snow: double your following distance, smooth out throttle and brake inputs, and start slowing earlier for signs and lights. Turn on headlights and defrosters. Say one sentence to signal judgment: “Road is slick; I’m adding space.”
- Night tests: extra head‑on glare means slower approach to crosswalks and more deliberate scans. Clean the inside of your windshield to reduce haloing.
- EVs and hybrids: strong regenerative braking can surprise following drivers. Ease off the pedal gradually and tap the brake lightly to activate brake lights when you’re slowing without much pedal pressure.
- Driver aids: blind‑spot monitors, parking sensors, and backup cameras can assist, but never replace mirror checks and shoulder checks. If the system beeps, treat it as a cue to verify, not permission to proceed.
- Rental or car‑share vehicles: allowed in some areas, banned in others. If permitted, make sure the insurance card, registration, and any company‑specific documentation are present. Sit in the car for 10 minutes beforehand to find every control.
- Adaptive equipment and accommodations: many testing agencies support hand controls and other modifications with advance notice. Bring documentation and arrive early for any setup or briefing required.
- Glasses and contacts: if your permit states corrective lenses, wear them. Removing them “just for the test” is grounds for termination.
- Language support: some places allow interpreters for the pre‑drive checklist but not for the driving portion. If language is a barrier, practice route language—left, right, lane names, distances—until it’s automatic.